Skip to main content

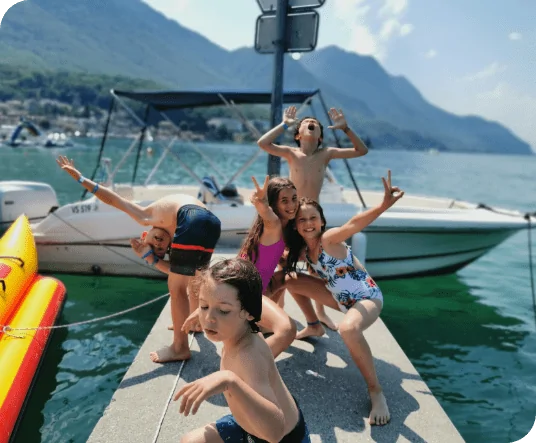

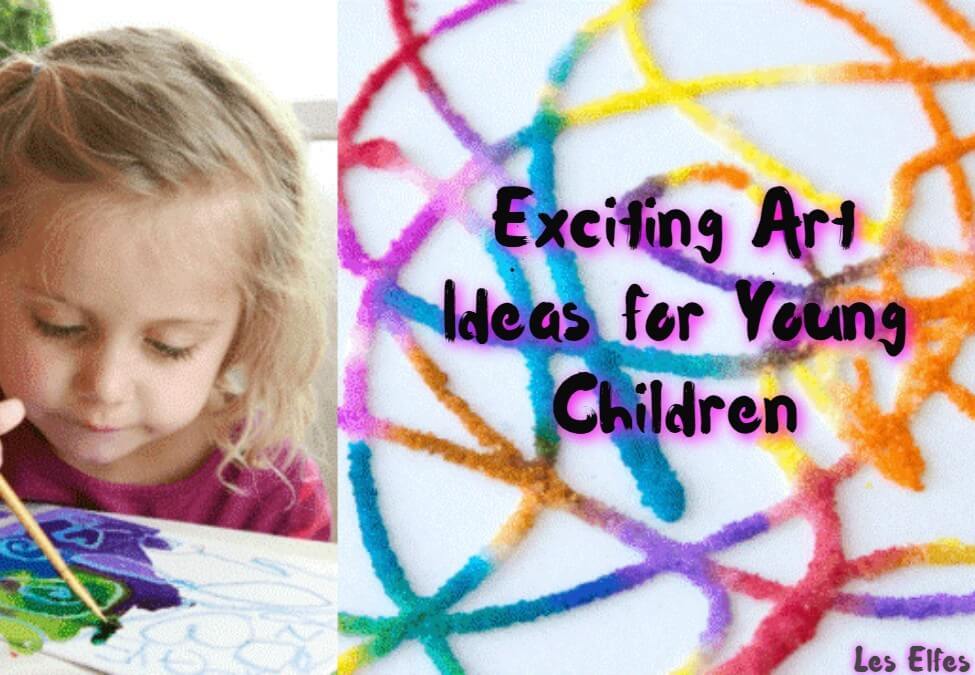
Art ideas allow young to explore the world of science, texture, crayons, and color. Further, children who engage in DIY art projects improve their hand strength, creativity, fine motor, and sensory skills. Read on to figure out different art activities to keep your kids engaged.
Back-and-forth Drawing Art Ideas
These back and forth doodles games are ideal for both adults and kids. They allow participants to sketch after each other’s drawings. It is a low key but interactive creative art idea. You can use the back and forth drawing game to entertain preschoolers.
Zentangle Art Ideas for Kids
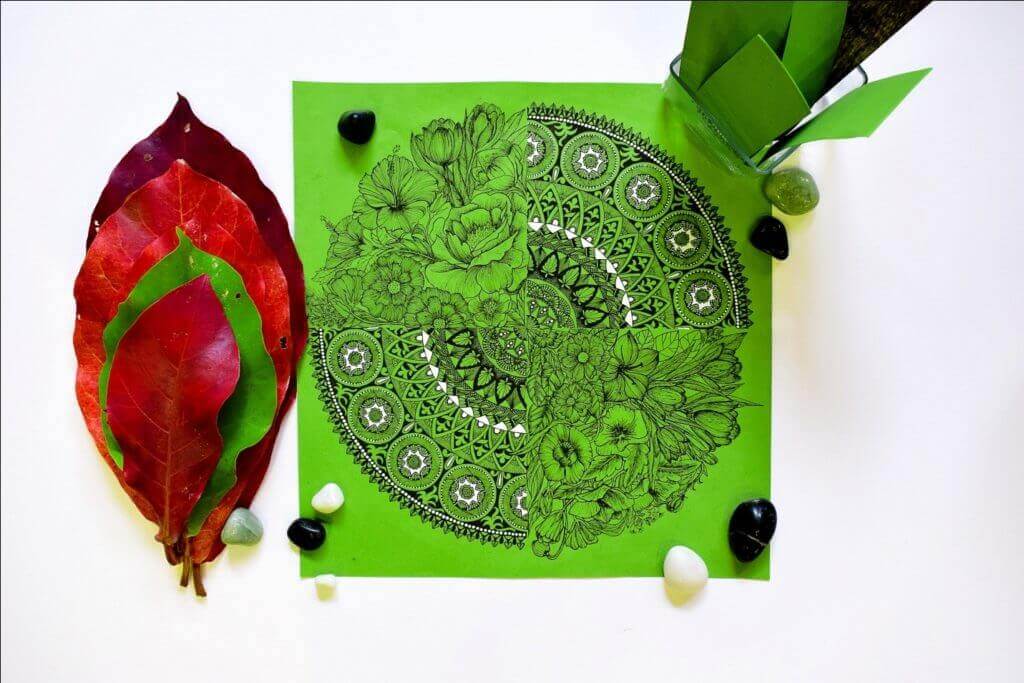
Zentangles are designs that include repeating non-representative patterns. You can choose a zentangle design for your wall art or even combine them to form a defined outline. For these beautiful DIY projects, you will need:
- Fine point permanent marker. You can buy this on Amazon
- Watercolors
- Watercolor paper
- Paintbrushes
Instructions
- Begin from the horizontal part of your paper and draw three hearts in different sizes using your permanent marker pen. Ensure your hearts are big enough to split up so that your drawing ideas can fit. Let the kids sketch the heart shapes with a pencil first. Doing so makes it easy correct any mistakes as they occur.
- Add crisscrossing lines inside each heart. Remember, large heart shapes will have more lines than the smaller ones. You want to create different spaces where a design shall occupy. The lines should be a combination of straight and curvy.
- You can allow the kids to draw their desired patterns or even use this zentangle pattern download. Remember, there are no defined rules when it comes to zentangle art ideas. Let the kids experiment with different patterns. You can even showcase the beautiful pieces on social media.
Fun String Art Ideas for Kids
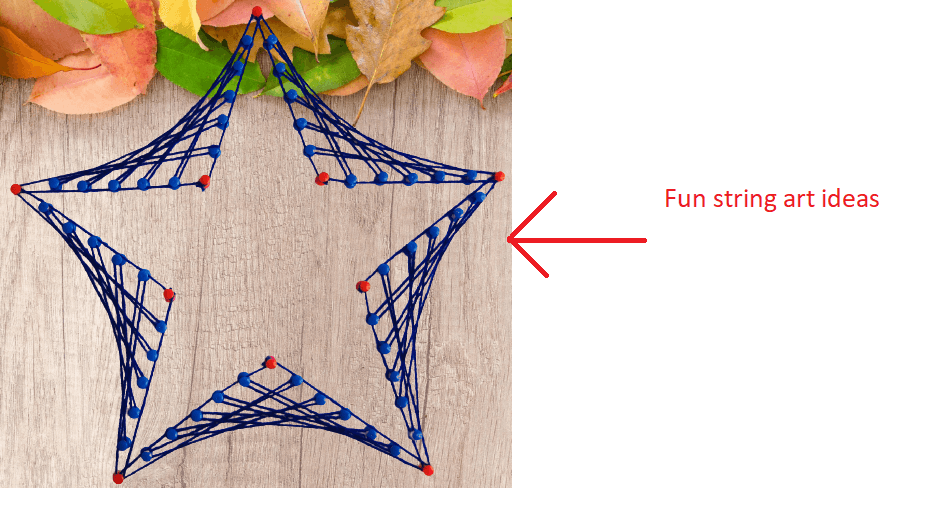
Did you know that you can remodel art into geometry? You will need push pins and a string to develop colorful shapes. Young learners, with the help of their art teacher, can practice making squares and triangles.
Teachers will need comprehensive lesson plans to teach older kids and ensure they can create parabolic curves. This activity also falls under the easy crafts category, and it can be a perfect outdoor activity.
Materials you Need
- Push pins or nails and toothpicks. Cut the toothpicks in half
- Wood, foam core board, or cork
- Colorful yarn, string, pipe cleaners, or embroidery thread
- Hammer
- Hot glue, but you can also use office glue
Instructions
- Show your kids how to push toothpicks or push pins in the foam core or cork safely to ensure they remain straight
- Help children draw their favorite shapes on a sheet of paper and ask them to place marks on the corners. The pins on the foam core will lie at the corners while the string will create the lines
- Let the kids make a geometry shape such as a triangle by placing pins in the foam or cork and wrapping a pipe cleaner or string around the pins. If your art class has older children, they can measure with a ruler to achieve uniform distance between the points. The measuring process is perfect, especially for complicated designs, such as parabolic curves.
- Kids can also create repeating patterns by enveloping string around one pin and connecting it to other pins.
- Let your kids experiment with different designs and shapes
Once this crafting exercise is complete, kids can either secure the string or demolish it and create a new layout.
Crayon Painting

Melted crayons can be ideal for your painting ideas. Let us discuss how to complete easy art projects using crayons.
You will Need
- Old crayons
- Cheap paintbrushes
- A silicone pop or muffin pan
- Small paper or canvas panels
- Eye droppers
- Oven
Method
- Preheat the oven to around 270 degrees
- Peel off the paper on your old crayons, sort them according to their colors and break them into small pieces.
- Put your sorted crayon pieces in the sections of your muffin pan.
- Put your muffin pan with the crayons in the oven for approximately 20 minutes.
- Once the crayons are well melted, remove the pan from the oven and place it on a table in a safe place.
You can start your painting project immediately. Remember, your silicone muffin pan will cool down within a short time, making it safe to hold. However, do not allow the kids to touch the pan. They should also understand that the melted crayons will be hot, and handling them would be dangerous.
Use your melted wax to complete kids’ art just as you would paint. While you can use paintbrushes, you may want to use eye droppers when the wax is hot. Eye droppers are ideal for older kids because younger children have no fine motor control to prevent wax from their skin. You can continue using your melted crayons for up to 15 minutes before they cool down and harden.
Allow your creative arts paintings to dry completely.
Protecting Young Kids from Hot Wax
This project can be complicated, especially for younger kids. However, they can still do it under adult supervision. Here are some safety and cleaning tips for this project.
- Let the kids wear long-sleeved clothes to keep hot wax from their arms
- To clean dried wax from your paintbrushes, put them in a container of boiling water. Move them around to remove the wax and wipe with paper towels.
- Allow them to dry well. If any wax remains, you can remove it by rubbing the bristles using your fingers.
- To clean your eye droppers, soak them in boiling water and push the warm crayon out with the wooden part of a paintbrush.
Raised Salt Painting
Raised salt painting techniques are popular among crafty kids of all ages. Further, you only need readily available materials like salt, glue, and food coloring or watercolor paint. You can even use acrylic paint.
Oil Pastel Painting
Oil pastel is also known as wax oil crayon. It is a drawing and painting technique that comes with similar features to wax crayons and pastels. Oil pastels comprise pigment blended with a wax binder and non-drying oil. There are different oil pastel techniques that you and the kids can practice.
Magnetic Sculptures
There are diverse magnet sculptures that you and the kids can create in summer. Magnets are some of the popular kidscrafts in the art class. We shall discuss a step by step guide on how to make a magnetic sculpture. For this project, you will need:
- Bolts and nuts. Choose both medium and large nuts, and flat-head bolts.
- Large metal lids
- Ceramic magnets. These are readily available in hardware stores. You can also place an order on Amazon.
- Spray paint and primer.
Method
· Step One
If you plan to paint your bolts and nuts, then you should start by priming and painting your pieces. Prime and paint your metal lids as well.
· Step Two
Place two ceramic magnets below a large metal lid. Turn the cover and add bolts and nuts above it to create a structure.
· Step Three
Place an additional ceramic magnet when you feel the magnetism disappearing and continue building your structure.
· Step Four
Expand the structure along the sides to test how far the magnetism can continue holding the metal parts.
· Step Five
Demolish your structure and start all over again.
Safety Tips for Magnetic Sculpture Craft Ideas
Kids can easily swallow magnets, and when this happens, the kid may require surgery to remove it. This activity may not be ideal for very young kids. If your young kids have to engage in this magnetic sculptrures, then you should supervise them closely.
Skip the priming and painting steps when dealing with very young kids.
Ceramic magnets may chip, and when they do, a sharp fragment may break off. Watch the kids closely as they play and remove any chipped pieces immediately.
Ceramic magnets can squeeze kids as they draw them together. Keep the magnet separated or stuck together on your working table to avoid accidents.
Large nuts are heavy, and when they fall, they can hurt the players. Perform this craft project on a large table. In this case, the nuts will not fall on your toes and hurt you.
Stained Glass Art Ideas
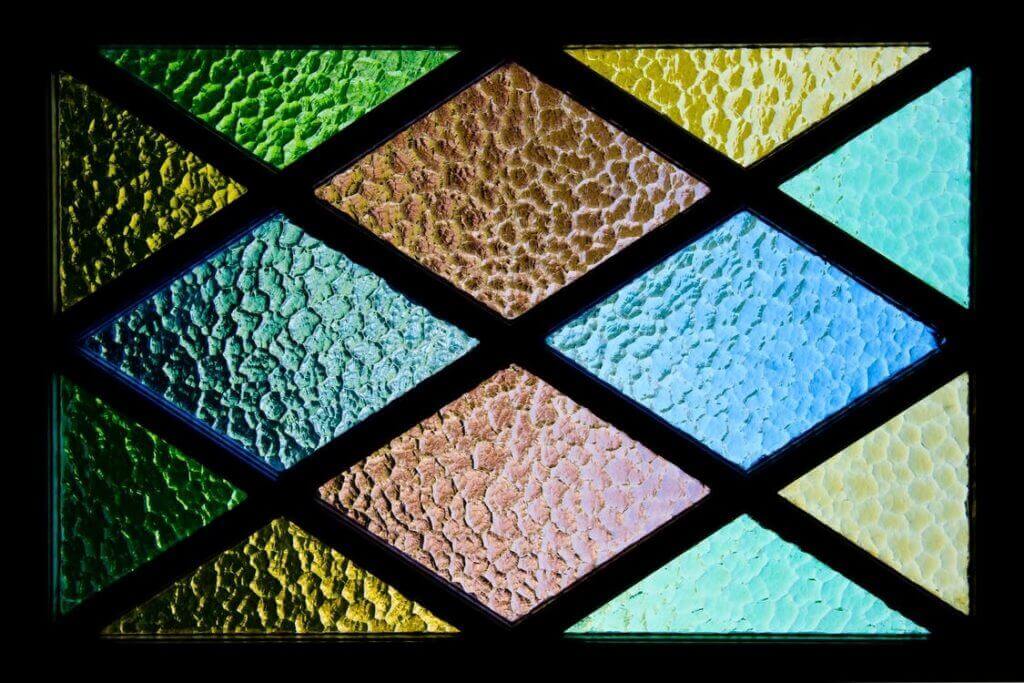
Let your kids attend stained glass art lessons where they will learn how to work with bottle lids, paint, and wax paper. This activity is fun and exciting for both preschoolers and toddlers. There are many stained glass art projects that kids can do.
Folded Paper Icicle Craft
You will need the following materials to make this folded paper craft.
Materials
- Colored printer paper, but you can also go for white ones
- Free printable paper icicle craft template
- Glitter twine
- Glitter
- Scissors
- Sticky tape
- Glue
Color Block Rainbow Wall Art
If you have just moved into a new house, you may want to change your walls to give them some form of personality. The best part of DIY wall art is that you can involve your kids. Let them create beautiful craft projects for their rooms.
DIY decor ideas are cost-friendly, and you can also get free art prints online. Use this color block, rainbow wall art to create an excellent piece for your home.
Stencil Art Ideas

Stenciling is not only fun and easy, but it also helps you experiment with your creativity. With proper care and storage, you can reuse your stencils over and over. Learn how to stencil like a pro by listening to podcasts or watching videos online. For your stencil art projects, you will need:
- An application tool. These can include a dabber, brush, roller, or sponge
- Paint. Some of the options you can use include chalk paint, matte acrylic, or stencil crème
- Adhesive. You can use spray adhesive or painter’s tape
- A paint tray to blend or put the paint and build custom colors
- Tape measure and ruler. These will help you align and measure your work
- Rags or paper towel where you will offload your paint before the stenciling process
- A stabilizer. You can use a pencil or dowel.
Stenciling Tips
Texture is crucial. While you can stencil on nearly anything, stenciling everything is impossible. For example, you cannot stencil on heavy textured or rough surfaces. Sand down any rough wood or clean, and sand cracked or loose paint before you can begin. You will achieve better results with a smooth surface. Always clean your surface thoroughly.
Pablo Picasso Projects for Kids
Pablo Picasso was a famous Spanish sculptor, painter, ceramicist, printmaker, and stage designer. He is among the most influential and great artists who ever lived in the 20th century. There are many Picasso themed art ideas that you and the kids can try.
Mixed Media Canvases Art Ideas
Mixed media canvas techniques provide an adaptable art system that can include one of your art preferences or even more. To start and work on your mixed media artwork, you need the ideal materials and resources.
Children will Benefit from Practicing Art
Art education is critical as it allows students to think broadly and express themselves better. Further, art instills in kids excellent collaboration skills and encourages teamwork.
Register today and learn these and more art ideas.